
Foot Valves Explained: Maintain Pump Prime and Prevent Backflow in Sumps and Shallow Wells
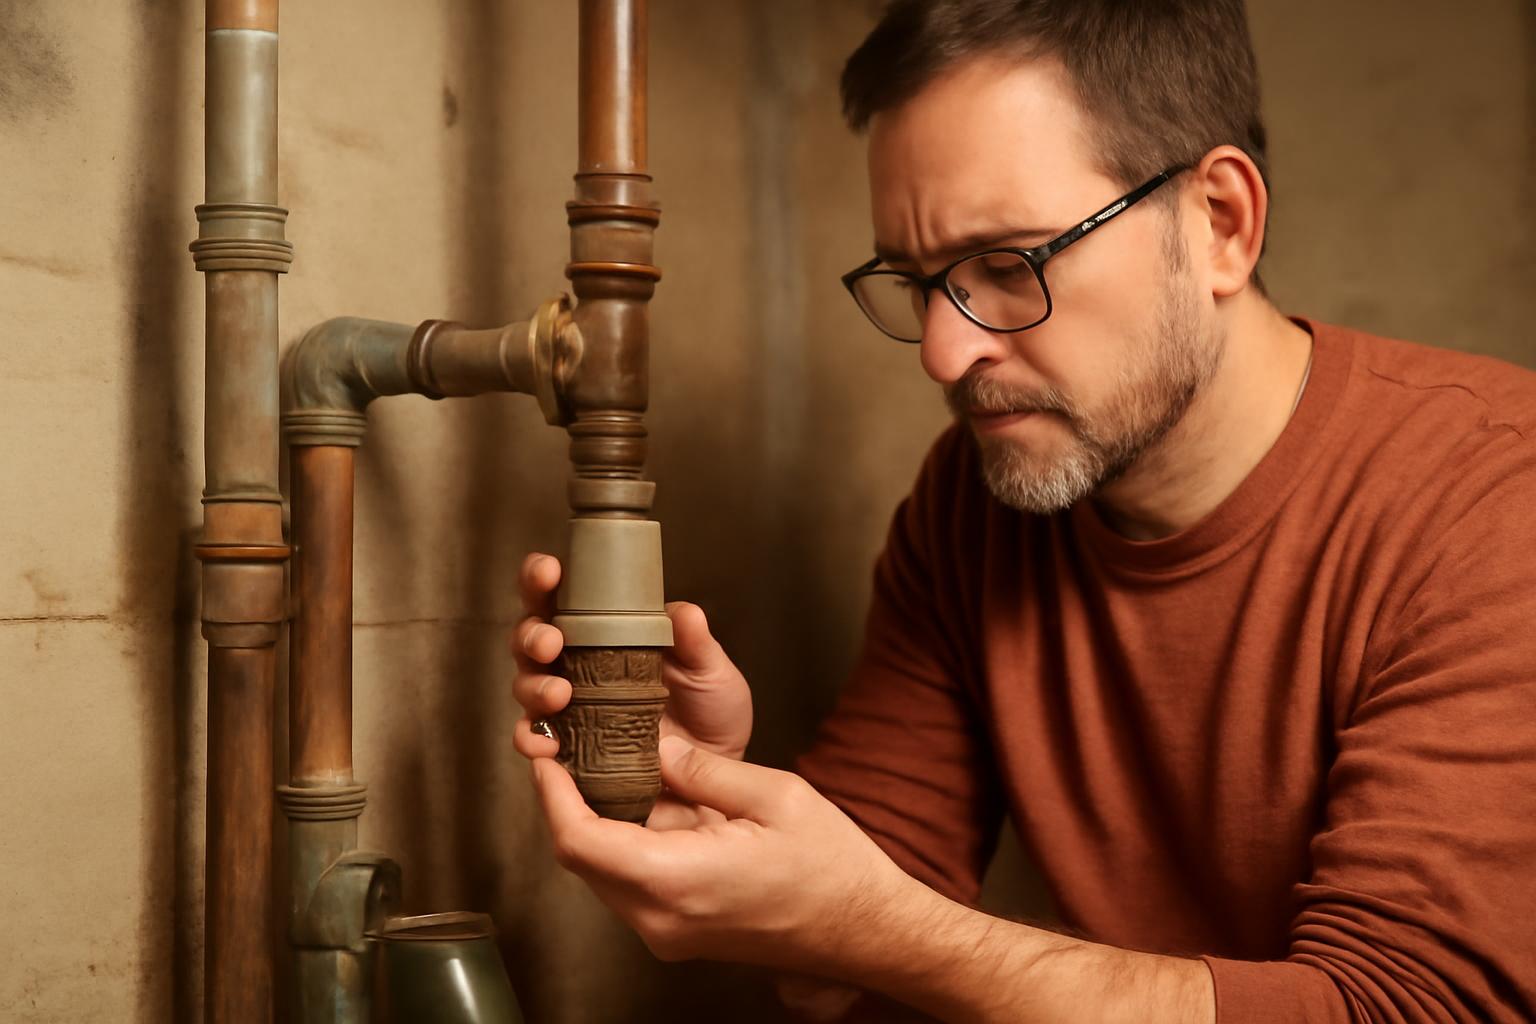
One sits at a submerged, screened suction intake. The other is usually inline. Prime loss points to the suction side, not automatically to the valve.
If your pump works normally while it is running but seems to “forget” how to pull water after it shuts off, a foot valve is one of the first hidden parts worth understanding. In a residential system, it is a small suction-end component with a very specific job: keeping water from draining back out of the intake line so the pump stays primed for the next start.
That matters most in surface-mounted suction-lift systems—especially shallow-well jet pumps and other setups where the pump sits above the water source and has to pull water up through a suction pipe. It matters much less in the typical submersible basement sump pump that sits down in the pit, because those systems usually do not depend on a suction-line foot valve at all.
For homeowners, the confusion is predictable. The symptom is obvious—loss of prime, air in the line, weak restart, pressure that seems to fade after shutoff—but the part itself is buried in the well, pond intake, or wet pit. By the time a foot valve gets suspected, many people have already blamed the pump, the pressure switch, or the tank.
The practical takeaway is simple: a foot valve is critical in the right kind of system, but it is also easy to misdiagnose. Before you pull pipe, it helps to know what the part does, where it belongs, what failure looks like, and where the DIY line should end.
What Is a Foot Valve?
A foot valve is a check valve installed at the bottom of a pump suction line, down in the water source rather than near the pump. Manufacturers describe it as a way to keep a single centrifugal pump primed between cycles, and common residential materials include PVC, plastic, bronze, and stainless steel (Flomatic foot valves).
What separates a foot valve from an ordinary check valve is the integrated strainer. The valve does the one-way-flow job, while the screen helps keep larger debris out of the suction pipe. Because the part sits at the submerged intake, it is exposed to the dirtiest water in the system—silt, plant material, grit, and other solids that can clog the line or damage the pump.
In plain terms, that makes a foot valve two parts in one: a backflow-prevention valve and a debris screen. Homeowners often hear “it’s basically a check valve,” and that is directionally true, but incomplete. The built-in strainer and the intake-end location are the reason the part exists as its own category.
Material choice matters, but usually less than sales pages suggest. Plastic and PVC are common where corrosion resistance and lower cost matter. Bronze, brass, and stainless steel are also widely sold where durability, water chemistry, abrasion, or longer service life matter more. The safest way to think about “best material” is not universal superiority, but fit for the water source and the existing system.
It also helps to clear up one common misunderstanding right away: a foot valve is not a general household drain part. If you are dealing with a sink clog, sewer backup, or septic line issue, this is not the component you are looking for. A foot valve belongs to a pump suction system.
How Does a Foot Valve Work?
A foot valve allows water to move in only one direction: from the source toward the pump. When the pump starts, suction opens the valve and lifts water through the intake. When the pump stops and reverse flow begins, the valve closes so gravity cannot drain that water back out of the suction line. That basic cycle is the reason foot valves are used to keep pumps primed (Tameson foot valve overview).
That sounds simple, but it solves a real startup problem. Many shallow-well and other non-self-priming pumps need the suction line to remain full of water. If the line empties between cycles, the pump may pull air instead of water on the next start, struggle to build pressure, or require manual repriming before it can work again.
The strainer matters almost as much as the valve seat. Because the foot valve lives at the submerged intake, it is the first thing water passes through on its way to the pump. If the screen plugs with debris, suction resistance rises and flow drops. If the screen is missing or too coarse for the source, larger solids may get into the suction line and create a different kind of problem.
Location is part of function. A foot valve is meant to stay submerged at the intake end of the suction pipe. Move the one-way action elsewhere in the piping and you may still have backflow protection, but you no longer have the same screened, submerged intake arrangement that helps maintain prime and protect the pump.
Residential Applications for Foot Valves
In residential use, homeowners most often encounter foot valves in shallow private well systems, surface pumps drawing from ponds or lakes for irrigation, and some surface-pump sump or wet-pit setups where the pump is above the water and pulling through a suction line. They are especially useful where the pump is not self-priming and the whole system depends on the suction pipe staying full between starts.
That is why foot valves show up so often in shallow-well jet-pump discussions. A surface-mounted jet pump pulling from a source below it depends on suction lift. If the water in that intake line drains back after shutdown, the pump can lose prime and fail to restart properly.
The word sump is where homeowners often get misled. A foot valve may be relevant in a sump or wet pit only when a surface pump is pulling water up through an intake line.
So the shortcut is this: if your pump sits above the water and pulls water upward, a foot valve may be part of the design. If the pump itself sits in the water, a foot valve is usually not the component driving the diagnosis.
Signs Your Foot Valve Is Failing
The classic symptom is loss of prime after shutdown. A replacement guide aimed at well systems also lists short cycling and drawing air as common signs of foot-valve trouble, which matches the pattern homeowners usually notice first: the pump runs, stops, sits, and then behaves like the line partly emptied while it was off (TOT Valve replacement guide).
Another common clue is a pressure drop after the pump shuts off. In one shallow-well troubleshooting thread, the system reached cutout pressure, stopped, and then the gauge slowly fell. The apparent foot-valve problem turned out to be a bad coupling in the suction line instead—a useful reminder that suction-side leaks can mimic foot-valve failure almost perfectly (DIYChatroom discussion).
Reduced flow can point to a different failure mode. If the pump still seems to hold prime reasonably well but output has weakened, the strainer may be partly clogged with sediment, algae, or organic debris. In that case the valve may still seal, but the intake is being starved.
Air in the line is another warning sign. Faucets may sputter, the pump may sound rougher than usual, or it may take longer to build pressure. A leaking foot valve can cause that, but so can loose threaded joints, aging poly pipe, cracked fittings, or other leaks anywhere on the suction side.
That is the diagnostic point many homeowners miss: a bad foot valve creates a recognizable pattern, but that pattern is not exclusive to the foot valve. “Pump loses prime” means inspect the suction side, not “replace the foot valve blindly.”
A useful pre-pull thought process looks like this:
- Does the problem show up only after the pump sits off for a while?
- Does pressure fall after cutoff, or only after hours of sitting?
- Did the symptom appear right after a fitting repair, freeze event, vibration issue, or pipe movement?
- Is output weak all the time, suggesting a clogged intake, or mostly bad on restart, suggesting leak-back?
The answers do not diagnose the valve by themselves, but they can tell you whether you are chasing a sealing problem, a clogging problem, or a different suction leak entirely.
Foot Valve vs. Check Valve: Key Differences
A foot valve is a specialized kind of check valve, not just a different nickname for the same part. The main differences are location, connection style, and the presence of a built-in strainer. A foot valve is designed for suction-lift service at the submerged end of the intake line, with a screened inlet and a single outlet connection to the suction pipe. A standard check valve is usually an inline device with connections on both ends and no integral debris screen (Tameson foot valve vs. check valve).
That distinction affects replacement decisions. For a typical homeowner suction-lift setup, a regular check valve is usually not a like-for-like substitute for the original foot valve, because it does not recreate the same screened intake at the bottom of the suction line. In a designed system, someone could use separate components to handle screening and backflow prevention, but that is a different arrangement—not simply “the same part by another name.”
The difference also explains why check valves show up in discharge piping and general water lines, while foot valves live at the source intake. One is a broad one-way-flow device; the other is a suction-end component built specifically to help with priming and intake protection.
DIY Foot Valve Replacement for Shallow Systems
A manufacturer how-to guide for well systems says to shut off power at the breaker, secure the drop pipe so it cannot fall, work with a helper, pull PVC or poly pipe by hand only for shallow wells around 25 feet or less, inspect the threads, apply PTFE tape or thread sealant, and install the new valve with the flow arrow pointed upward toward the pump (TOT Valve replacement guide).
In practice, the hardest part is not threading on the new valve. It is controlling the pipe. Before disconnecting anything, make sure the pump cannot start unexpectedly. Support the suction line with a rope, clamp, or helper so a slip does not send the pipe and valve down the well or pit. Once the intake comes up, inspect the pipe end and fittings as carefully as the old valve. If the threads are deformed, the pipe is cracked, or the fitting is loose, a new foot valve alone may not solve the problem.
When choosing the replacement, match more than nominal size. Confirm:
- the connection size and thread type
- that it is actually a foot valve, not a plain inline check valve
- the body material appropriate for your water source
- whether the source water is dirty enough that screen area and clogging resistance matter
Installation orientation matters. The flow arrow should point toward the pump. Tighten threaded connections firmly, but do not over-torque plastic parts. After lowering the pipe back into place, reconnect the suction side and reprime the pump according to the pump manufacturer’s instructions.
The post-repair test matters as much as the replacement itself. If the system primes and runs but still loses pressure or prime after shutdown, do not assume the new valve is defective. In homeowner systems, the real leak is often elsewhere on the suction side.
A good DIY threshold is simple: if you can safely pull it, see it, support it, and reinstall it without guessing about hidden fittings, the job may be reasonable. If the layout is uncertain, the pipe is heavy or brittle, or you are one slip away from losing the assembly down the well, the repair has stopped being basic homeowner maintenance.
Installation and Maintenance Basics
For broad installation principles, the rules are straightforward: keep the valve vertical, keep the screen clear of bottom sediment, and keep the intake reliably submerged. One Flomatic operation and maintenance manual adds model-specific guidance for its foot-valve installations, including vertical installation, not supporting the screen on the bottom, keeping the screen at least 0.75 times the pipe diameter below the minimum water level, aiming for flow velocities generally between 2 and 5 feet per second, and limiting that foot-valve configuration to a maximum of 25 feet below the pump suction inlet (Flomatic O&M manual).
Those numbers are useful, but they are best read as manufacturer-specific guidance, not universal residential code rules. The portable lesson for homeowners is broader: the valve needs enough clearance from sediment to avoid clogging, enough submergence to avoid drawing air, and sizing that does not starve the pump.
Maintenance is simple in theory and awkward in reality because the part is hard to reach. If performance falls off and access is reasonable, inspect the strainer for debris first. A partially clogged screen can look like a weak pump or a failing valve. Also look for corrosion, worn sealing surfaces, broken internal parts, or abrasion from sandy water.
Inspection frequency depends heavily on the source.
Replacement matching also goes beyond material. A foot valve that threads on but is poorly sized for the flow, poorly screened for the source, or unsuited to the water chemistry can create repeat problems. Fit, application, and source-water conditions matter more than buying the most expensive body material on the shelf.
One last point is easy to misunderstand: pressure rating is not installation depth. The same Flomatic manual says its valves may be rated to 400 psi or 920 feet of water pressure, but explicitly warns that this does not mean the valve can simply be set 920 feet deep in a well (Flomatic O&M manual). Pump type, suction-lift limits, and installation geometry still control whether the application makes sense.
When to Call a Professional
The fastest way to turn a small repair into an expensive one is to treat an uncertain well or suction system like a simple visible plumbing job. In a Terry Love forum discussion about a 30-foot bored well, the conversation quickly moved from “replace the foot valve” to questions about pump type, suction arrangement, and drop-pipe details. That is typical: once the layout is not obvious, the problem is no longer just about one part (Terry Love discussion).
Call a professional when any of these are true:
- You cannot clearly identify whether the system is a shallow-well jet setup, a deep-well jet setup, or another suction arrangement.
- The well has multiple pipes, an ejector arrangement, or fittings you cannot see.
- The pipe is old, brittle, heavy, or likely to kink or snap during pulling.
- A pitless adapter, well seal, or buried connection complicates access.
- The pump still loses prime after you replace an obvious bad part.
- You are no longer sure whether the problem is the foot valve, the suction line, the pump, or the controls.
What materials are common for residential foot valves?
Common residential foot valve materials include PVC and other plastics, bronze or brass, and stainless steel. Industrial catalogs also show other materials, but for most homeowners the real choice is less about chasing a universally “best” material and more about matching the connection, the water source, and the corrosion or abrasion conditions the valve will face.
As a rule of thumb, plastic and PVC are common where corrosion resistance and lower cost matter, while bronze, brass, and stainless steel are also widely sold where durability or harsher water conditions matter more.
How do I test if my foot valve is leaking?
Start with the least invasive check: prime the pump fully, let it reach normal pressure, then watch what happens after shutdown. If the system loses prime after sitting, or if pressure falls when the pump is off, the foot valve is one possible cause—but not the only one. Suction-line leaks, loose fittings, and cracked pipe can produce the same symptoms.
A commonly shared field-screening method in well forums is to add a temporary gauge at the priming point, pressurize the line to about 60 psi, and see whether it holds for roughly 15 minutes before deciding to pull pipe. That is best treated as anecdotal troubleshooting experience rather than a universal manufacturer procedure (DoItYourself.com thread).
If you are not comfortable setting up a pressure test safely, the better move is to have a well technician isolate the suction side and verify where the leak actually is.
Why does my sump pump lose prime overnight?
First make sure you actually have a pump that depends on prime. A typical submersible basement sump pump sits in the pit and usually does not rely on a suction-line foot valve.
If you have a surface-mounted pump pulling water up from a pit, pond, shallow well, or wet well, overnight prime loss usually means water is leaking back somewhere on the suction side. The foot valve may be leaking, but so might a coupling, threaded joint, cracked pipe, or another fitting above it.
The key is to diagnose the whole suction line, not only the valve at the bottom.
Should I add a check valve near my pump?
This evidence does not support treating that as a standard homeowner fix for prime loss. In one shallow-well forum example, adding a second check valve near the pump was discouraged because it could complicate priming and make diagnosis harder if the real problem was still a leaking foot valve or suction-line leak—but that is anecdotal troubleshooting advice, not a universal engineering rule (DIYChatroom discussion).
The more defensible takeaway is simpler: before adding components, confirm why the system is losing prime. If the fault is a leaking coupling, cracked suction pipe, or bad foot valve, a second check valve does not solve the underlying problem.
A foot valve is a specialized suction-end check valve with a built-in strainer. In the right system—mainly shallow wells and other surface-mounted suction-lift setups—it is what keeps the line full, protects the pump from larger debris, and makes the next start possible without repeated repriming. When it fails, the symptoms are real but not unique, which is why good diagnosis matters as much as replacement. If the system is shallow and clearly laid out, DIY may be reasonable. If the setup is deep, hidden, or uncertain, the smarter repair is often to stop before a small valve job turns into dropped pipe, misdiagnosis, or a much bigger well-service call.