
Shower Leaks After Years of Use: Spot Hidden Damage Early and Fix Before It Worsens
A shower that starts leaking after years of ordinary use is usually not a mystery failure. More often, it is a wear-and-maintenance problem that stayed small…
By Miles Carver ·
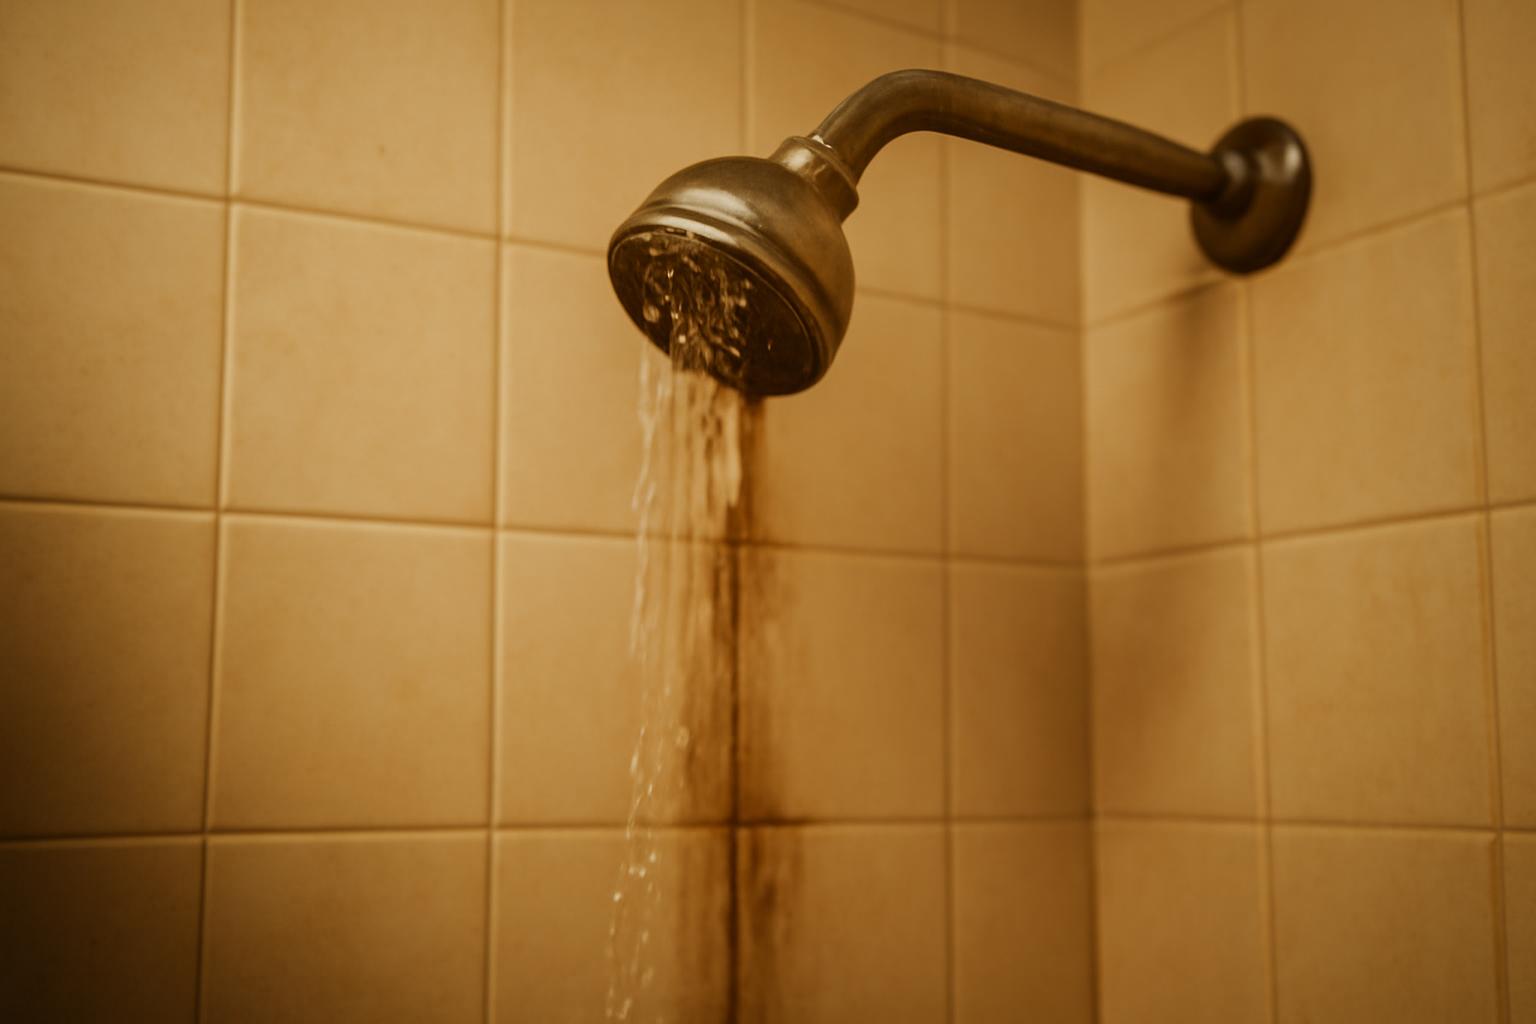
A shower that starts leaking after years of ordinary use is usually not a mystery failure. More often, it is a wear-and-maintenance problem that stayed small long enough to become hidden. Rubber parts age. Caulk and grout stop sealing the way they once did. Cartridges wear internally. Mineral buildup interferes with sealing surfaces. And because water travels, the stain you notice may be several feet from the place the leak actually started.
That is why the best approach is symptom-first diagnosis, not immediate demolition. First figure out whether the leak happens when the shower is off, only while running, only when someone is standing in it, or only after longer showers. Then isolate the likely source with simple tests. Many visible, surface-level problems are reasonable DIY jobs. Behind-wall leaks, pan failures, old hard-to-match valve parts, and structural damage are not.
Why Showers Leak After Years of Normal Use
Showers age in a repetitive way. Daily hot water, steam, cooling, and movement work on the same small sealing parts over and over. In guidance aimed at older showers, worn rubber parts are commonly flagged once a shower is past the 5-year mark, and caulk and grout are treated as maintenance materials rather than lifetime ones: caulk often needs replacement around 5 to 7 years, while grout may last roughly 8 to 16 years depending on moisture exposure and movement in the assembly (FP Tile & Marble).
Inside the valve, the clock is often longer. A showerhead that keeps dripping after the water is fully off can point back to the valve cartridge rather than the head itself, and one showerhead repair guide says cartridges commonly last about 10 to 15 years, with hard water and mineral buildup sometimes speeding up trouble (High Sierra Showerheads).
Older homes add another layer. What looks like a “shower leak” may be an aging valve body, a slow pinhole supply leak, or leakage around old soldered joints that only shows up when the shower runs (Megasealed).
Very old fixtures can also turn a simple leak into a parts-identification problem. In a homeowner Q&A about a 30-plus-year-old two-handle shower, the plumber’s view was that the leak was cartridge-related, but the real challenge was identifying and matching the old part without damaging the valve during disassembly (JustAnswer).
So when a shower begins leaking “all of a sudden” after years of normal service, that usually does not mean the whole shower failed overnight. More often, one or two small parts finally crossed from worn into leaking.
Signs Your Shower Has Been Leaking for Years
The clearest clue is often damage somewhere other than the shower itself. Quiet shower leaks can drip inside walls and floors for years, and the visible stain may be far from the actual source because water can travel along pipes, framing, and boards before it finally shows itself (PlumbingSupply.com).
You may also notice symptoms that feel more like “moisture problems” than leaks: musty smells, loose tiles, peeling paint, soft walls, ceiling staining below, or a floor near the shower that feels spongy underfoot. Those are all signs that water may have been escaping long before anyone saw a puddle (FP Tile & Marble).
A slow drip from the showerhead when the shower is fully off pushes suspicion toward worn valve parts. Water stains behind the escutcheon, around the shower arm, or on a nearby wall can point to leakage at trim gaps, threaded connections, or the valve area rather than the pan (PlumbingSupply.com).
At the same time, not every leak that appears near a shower actually starts there. Water supply leaks, drain leaks, corroded valves, damaged pans or liners, and even other nearby plumbing can create overlapping symptoms such as stains below the bathroom or repeated backups (Show Plumbing).
A practical way to sort the symptoms is by timing:
- Leaks when the shower is off usually point toward the valve, cartridge, or internal seals.
- Leaks only while the shower is running usually point toward containment or drainage: showerhead, arm, trim, grout, caulk, drain, door track, curb, or splash escaping the enclosure.
- Leaks only when someone is standing in the shower raise suspicion about pan flex, a drain gasket, or a base that moves under load.
That timing often tells you more than the visible stain does.
Diagnostic Tests to Pinpoint Age-Related Leaks
Before opening a wall or tearing out fresh caulk, isolate the leak. The goal is to test one part of the shower at a time, starting with the easiest checks and moving toward the more disruptive ones.
Begin with a close visual inspection. Look at inside corners, the wall-to-base joint, the curb, door tracks, the shower arm where it enters the wall, and the escutcheon around the valve. Then work through the shower in a sequence instead of guessing.
-
Rule out the drain first. Richard Trethewey’s recommended approach is to bring water from another source and pour it directly into the drain before you run the shower. If water shows up below during that test, the drain assembly becomes the first suspect right away (This Old House).
-
Isolate the showerhead and arm. If the leak only happens when the shower runs, remove the head and inspect the washer or O-ring, mineral buildup, and threaded connection. If you have the right temporary cap, capping the shower arm can help separate a leaking head from a leaking arm or wall connection; spraying door tracks and corners can also reveal slow splash-path leaks that only show up under direct water (PlumbingSupply.com).
-
Check the valve area. Remove the escutcheon if you can do so without damage, run the shower, and inspect with a flashlight or mirror. Slow leaks around the valve body, stem area, or nearby joints may only appear when the system is under pressure, especially in older homes (Megasealed).
-
Inspect caulk and grout as test targets, not assumptions. Look for missing sections, pulled-away sealant, moldy corners, soft wall intersections, or cracked joints near the base and curb. These are common leak paths, but they still need to be tested against the rest of the assembly rather than blamed automatically.
-
Flood-test the pan if the leak is still unclear. Plug the drain, add about 1 to 2 inches of water, mark the waterline, and let it sit. A minimum of 8 hours can catch some failures, many guides suggest 8 to 24 hours, and PlumbingSupply notes that very slow pan leaks may not reveal themselves for 50 hours or more. This test is one of the best no-demo ways to check the pan or drain area, though it can still miss failures at the curb or higher in the wall system (PlumbingSupply.com).
A simple symptom-to-test checklist helps:
| Symptom | First test | Likely suspects |
|---|---|---|
| Drips when fully off | Leave shower unused and watch head/spout | Cartridge, valve seals, seats, O-rings |
| Leak only while running | Remove head or inspect arm and trim | Head, arm threads, escutcheon gap, splash path |
| Leak only with body weight in pan | Direct water to drain, then stand in shower | Drain gasket, flexing base, cracked pan |
| Ceiling stain below after long showers | Flood test pan, then spray corners/curb | Pan, drain, curb, wall joints, door track |
The point is not to prove your first theory. It is to eliminate the wrong ones before you buy parts or damage tile.
Common Leak Points in 5-15 Year Old Showers
Showerhead and shower arm: Leaks that happen while water is running often start here. The common causes are loose connections, worn washers or O-rings, a compressed gasket from overtightening, or mineral buildup that affects how the head seals and sprays (High Sierra Showerheads).
Caulk and grout: Corners, movement joints, base perimeters, and curb intersections are frequent trouble spots because they deal with both moisture and slight daily movement. As a maintenance habit, grout and caulk should be inspected about every 6 months, especially at the base and corners where water concentrates most heavily (Honest Plumbing).
Drain assembly: This is easy to underestimate because most of it is hidden. In fiberglass or acrylic bases, the drain’s neoprene gasket can dry out over time, and the base can flex when someone stands on it, weakening the compression seal. That is why some drain leaks show up only under load, not during a quick no-weight test (This Old House).
Valve or cartridge: If the showerhead drips even when the controls are fully off, worn internal parts move high on the suspect list.
Pan or liner: These failures are less common than bad caulk or a worn washer, but they are far more disruptive. Older fiberglass or acrylic pans can crack, and tiled showers can develop drain-flange, liner, or water-barrier failures that let water escape below or beyond the shower footprint (Angi).
If you remember only one thing from this section, make it this: the age of the shower narrows the list, but the timing of the leak narrows it faster.
DIY Fixes for Simple Shower Leaks
The safest DIY rule is straightforward: if the problem is visible, accessible, and clearly tied to one exposed part, it may be reasonable to handle yourself. Before taking anything apart, shut off the water supply serving the repair area, then gather basic tools such as an adjustable wrench, pliers, screwdriver, sealing tape, sealant, and a descaling product like vinegar (StarBath).
For a leaking showerhead or shower arm, remove the head, inspect the washer or O-ring, clean mineral buildup, and refresh thread tape if the threaded connection is the issue. Tighten carefully rather than forcing it harder; one common cause of continued leakage is a gasket that has already been compressed too much from overtightening (High Sierra Showerheads).
For drain and trim-area fixes, keep the repair limited to what you can actually see and reach. Richard Trethewey’s guidance includes re-taping shower-arm threads, replacing worn gaskets or seals, and recognizing that silicone smeared across the top of a flexing fiberglass drain is rarely a durable fix. His advice also notes that plumber’s putty can be used on valve gaskets in the repair approach he demonstrates, but the better lesson for most homeowners is to test after each step instead of sealing everything at once (This Old House).
For caulk failure, remove the old material fully, clean and dry the joint, and apply a fresh bead of bathroom-grade silicone. For grout repairs, allow adequate cure time before using the shower again; one plumbing DIY guide recommends 24 to 48 hours before returning the shower to service after grout work (Crawford Plumbing).
A few practical stop conditions matter:
- Re-caulking over dirty or loose old caulk usually fails.
- If a drain or base still leaks only when someone stands on it, the issue may be below the surface, not at the visible seal.
- If a showerhead still drips when fully off after the exposed parts check out, the problem may be the cartridge rather than the head.
- If the leak returns immediately after a seemingly correct surface fix, stop adding more sealant and go back to diagnosis.
DIY success is highest when the issue is obvious and localized: a loose showerhead connection, mineral-clogged head, missing caulk, or a clearly worn exposed seal. Once the source becomes hidden, uncertain, or structural, the repair has crossed out of simple DIY territory.
When Shower Leaks Need a Professional
Call a professional when the leak is no longer just a part swap.
That includes active leakage around the valve body behind the wall, suspected pinhole supply leaks, or a shower that still leaks after the obvious exposed washer, caulk, or showerhead repair. In older homes, slow leaks may come from the valve body itself or from aging joints near it, and that typically takes access and parts replacement beyond surface DIY (Megasealed).
The same is true for pan cracks, liner failures, drain-flange problems below the surface, or water-barrier failures that require access through tile, walls, or flooring. Those jobs are not just fixture repairs; they are enclosure and building-assembly repairs (Angi).
Very old valves deserve extra caution. A 30-plus-year-old shower may still be repairable, but identifying the cartridge or stem, freeing a seized part, or finding a matching replacement can be the hardest part of the whole repair. In the old-house case cited earlier, the plumber specifically suggested disassembly for identification and noted that a cartridge puller might be needed if the part was stuck (JustAnswer).
Professional help is also warranted when you see soft subflooring, sagging or stained drywall below, wood damage, mold, multiple fixtures acting up at once, or repeated backups that suggest the shower may not be the only thing involved (Show Plumbing).
A good homeowner cutoff is this: if your testing suggests the leak is behind tile, behind the valve, under the pan, or still not confidently identified, you have reached the professional threshold.
For drain symptoms that mean stop DIYing and when to call a plumber, see our detailed guide.
Water Waste and Damage from Years of Slow Leaks
Even a “small” leak wastes enough water to matter. The EPA says the average household’s leaks can waste more than 9,300 gallons a year, 9% of homes have leaks wasting at least 50 gallons per day, and a showerhead leaking at about 10 drips per minute wastes more than 500 gallons per year (EPA).
At the fixture level, a slow showerhead drip has been estimated at about 347 gallons per year, and a faster drip of around 30 drops per minute at more than 1,000 gallons per year. The same showerhead guide also cites EPA-backed figures of up to 3,000 gallons annually for a leaky showerhead, depending on rate and duration (High Sierra Showerheads).
The bigger cost is usually not the water bill. It is the damage once water reaches finishes, framing, or the ceiling below. Angi cites average water-damage restoration around $3,900, while also noting that shower-repair costs vary by leak type and access (Angi).
Trade guidance on shower leak damage says mold can begin developing within 1 to 2 days, wood rot can start progressing over weeks, and larger pan- or water-barrier-related repairs can range from roughly $1,500 into the $8,000-plus range depending on scope. The same contractor source also notes that insurance treatment of gradual leaks can differ from sudden failures, so coverage depends on the policy language and the facts of the loss rather than on a universal rule (FP Tile & Marble).
That is why a years-long shower leak is rarely “just a drip.” The water waste matters, but the hidden damage usually matters more.
Prevention Timeline for Aging Showers
Aging showers do better with a schedule than with guesswork.
Every 6 months: inspect grout and caulk, especially at the base, inside corners, curb edges, door tracks, and around trim penetrations. A twice-yearly check is a reasonable minimum for older showers (Honest Plumbing).
About every 5 to 7 years for caulk, and roughly 8 to 16 years for grout: expect replacement to become more likely, even if the shower still looks mostly intact (FP Tile & Marble).
Around 10 to 15 years: move from casual observation to a more deliberate review of the valve and cartridge condition, especially if you notice drips when the shower is off or inconsistent operation. Consumer plumbing guidance commonly recommends a broader system review in that age range (Crawford Plumbing).
At least yearly: if your shower has shown any drip history, inspect exposed washers and O-rings and descale the showerhead as needed. Mineral buildup is not just cosmetic; it is one of the routine contributors to poor sealing and odd spray behavior (Ben Franklin Plumbing).
DrainFinder’s homeowner guidance also notes that repeated chemical drain-cleaner use can be hard on older PVC and rubber components, so mechanical clearing is the safer default for routine maintenance (DrainFinder).
If you live in a hard-water area, add one more habit: treat mineral buildup as an accelerator, not just a cosmetic annoyance. It may not shorten every part by a predictable number of years, but it does make seals, cartridges, and showerheads more likely to misbehave sooner.
A simple timeline catches many age-related shower leaks before they become tear-out jobs:
- inspect twice a year,
- replace failing caulk before it opens obvious gaps,
- descale and clean exposed parts regularly,
- pay closer attention once the shower enters the 10- to 15-year range,
- and escalate early if water appears anywhere outside the shower footprint.
How long do shower caulk and grout typically last before leaking?
Caulk is often treated as a 5- to 7-year maintenance item, while grout may last roughly 8 to 16 years before replacement or more substantial repair becomes likely (FP Tile & Marble).
Those are not guarantees. Heavy use, movement, poor ventilation, and weak underlying waterproofing can shorten the timeline, while a well-built, well-maintained shower can go longer. The practical takeaway is not to wait for active leaking. If caulk is pulling away, cracking, or staying moldy, or grout is deteriorating near the base and corners, inspect and repair before water starts moving behind the finish.
Can shower leaks go undetected for years, and what damage do they cause?
Yes. Quiet shower leaks can drip inside walls and floors for years, and the place where damage finally appears may be far from where the leak started because water can travel along framing and plumbing paths (PlumbingSupply.com).
Over time, that hidden moisture can stain ceilings, soften drywall, loosen tile, damage wood, and create musty odors. By the time the damage is obvious, the leak often has been active much longer than homeowners think.
What is the water waste from a slow shower drip over a year?
A good baseline is that a showerhead leaking at about 10 drips per minute wastes more than 500 gallons per year (EPA).
Faster dripping can move into the 1,000-gallon range, and some estimates go as high as roughly 3,000 gallons annually depending on drip rate and duration (High Sierra Showerheads). Even when the utility-bill effect feels modest, the damage risk still makes the leak worth fixing.
How do I test for a leaking shower pan without calling a pro?
Plug the drain, add about 1 to 2 inches of water to the shower base, mark the waterline, and leave it long enough to catch a slow drop. A short test may miss a slow failure; flood-test guidance commonly starts around 8 hours and often extends to 24 hours, with some very slow leaks showing later (PlumbingSupply.com).
If the level falls without a good evaporation explanation, the pan or drain area becomes more suspicious. If the pan test passes, move back up the system and test the drain connection, shower arm, valve trim, corners, curb, and splash paths separately.
When is a shower valve leak DIY-fixable vs. needing a plumber?
It is usually more DIY-friendly when the leak clearly traces to an accessible cartridge or trim-related part that you can identify confidently without opening the wall. It moves into plumber territory when the leak is behind the wall, the valve body itself is leaking, the part is seized or hard to identify, or the system is old enough that matching parts becomes uncertain (JustAnswer; Megasealed).
If you are not sure whether the water is coming from the cartridge, the valve body, or a nearby supply connection, that uncertainty alone is a good reason to stop.
If you sort the problem that way first, then test the drain, arm, valve, corners, and pan one at a time, you can usually narrow the leak without tearing the shower apart.
That is the real goal: catch the worn part, failing seal, or hidden moisture path while it is still a repair problem instead of a rebuild problem.